Wondering if you can handle hanging on drywall? Many DIY’ers ask this question. Working with a professional might seem quick and simple. Yet, with some tips and practice, you can do it yourself.
Hanging things on drywall, like pictures or shelves, needs care and the right tools. You must follow tips from experts to get it right. This way, doing it yourself becomes doable. It just takes the right knowledge and method.
Key Takeaways:
- Hanging on drywall can be done yourself with practice and guidance.
- Follow industry guidelines and resources for successful results.
- Proper planning and execution are essential when hanging pictures and mounting shelves on drywall.
- Safety considerations are crucial when hanging heavy items on drywall.
- Use the correct tools and techniques for successful drywall installation.
Tips for Hanging Pictures on Drywall
Proper planning and the right method are essential when hanging pictures on drywall. These tips will help you get it right:

- Selecting a suitable spot: Pick where you want the picture carefully. Think about how it fits the room, the light, and the decor. Measure to find the perfect spot.
- Locating the studs: Finding the studs is crucial for a stronghold. Use a stud finder to locate them accurately. Then, mark where they are.
- Choosing appropriate hanging hardware: Use hooks or anchors meant for drywall. They keep your picture safe and steady.
- Avoiding nails directly into drywall: Nails are not the best choice. They might not support your picture well and can harm the wall. Choose proper hanging tools instead.
Stick to these suggestions when hanging pictures on drywall. This way, your display will look great and your art will be safe and secure. Always think about how heavy the picture is and choose the right hardware.
Mounting Shelves on Drywall: A DIY Guide
Mounting shelves on drywall is a great DIY project. It can make your space look better and be more useful. This guide is for everyone, from the pro to the beginner, to help you mount shelves safely on drywall.
Step 1: Selecting the Right Location
First, choose where you want your shelves to go. Think about how they’ll be used and how they’ll look. Measure to find the studs in the wall for the best shelf placement.
Step 2: Ensuring Level Installation
Make sure your shelves will be straight and look good by using a level. It helps you have a neat finish. Nothing will slide off crooked shelves.
Step 3: Marking and Locating Studs
Use a pencil or marker to mark where your shelves will be. To keep them secure, you must attach them to studs. A stud finder will help you find the studs.
Step 4: Using Appropriate Shelf Brackets and Screws
Choose the right shelf brackets for your shelves. They need to safely hold the shelves’ weight. Also, pick the correct screws for attaching the brackets to the studs.
Step 5: Distributing Weight and Avoiding Overloading
It’s key to spread the weight evenly on your shelves. This keeps them from sagging. Don’t put too much weight on them, or they might break.
Recommended Shelf Bracket Sizes and Weight Capacities
| Bracket Size (inches) | Weight Capacity (lbs) |
|---|---|
| 8 | 50-150 |
| 10 | 75-200 |
| 12 | 100-250 |
Refer to this table when picking out shelf brackets and their sizes. Make sure to follow what the manufacturer says about the brackets you’re using.
By following these steps and using the right equipment, you can safely put up shelves. It’ll make your space neater and more stylish. Always put safety first and take your time to do a good job.
Hanging Heavy Items on Drywall: Safety Considerations
Safety and stability are key when hanging heavy things on drywall. You need a good plan and the right tools. This ensures your wall stays safe without damage or accidents. Here’s what to remember:
Identify the Studs
It’s vital to find studs before you hang heavy things. Studs support heavy items well. Use a stud finder to mark their positions. This helps you know where to put your hanging hardware.
Choose the Right Hanging Hardware
Use the correct hardware for heavy items on drywall. Toggle bolts and wall anchors work well. They spread the weight, making it more stable. Always check the weight limits the hardware can hold.
Distribute Weight Evenly
It’s crucial to spread the weight out evenly. By attaching to more than one stud, weight dispersal is better. This prevents overload and keeps your item secure. It also stops damage to the drywall.
Consider Professional Help
For very heavy or valuable items, think about a professional. They have the skills and tools needed. Plus, they know the best ways to make sure everything is safe and stable.
Remember, safety first when hanging heavy things on drywall. Follow these steps and take care, and your items will be safe on your wall without damaging it.
| Key Takeaways |
|---|
| Identify the studs in your drywall to ensure proper support. |
| Choose appropriate hanging hardware designed for heavy loads. |
| Distribute the weight evenly across multiple studs for added stability. |
| If needed, consider seeking professional help for hanging extremely heavy items. |
Tools and Techniques for Drywall Installation
Drywall installation needs specific tools and tips for a great result. Here are crucial tools and advice for your project:
Essential Tools for Drywall Installation
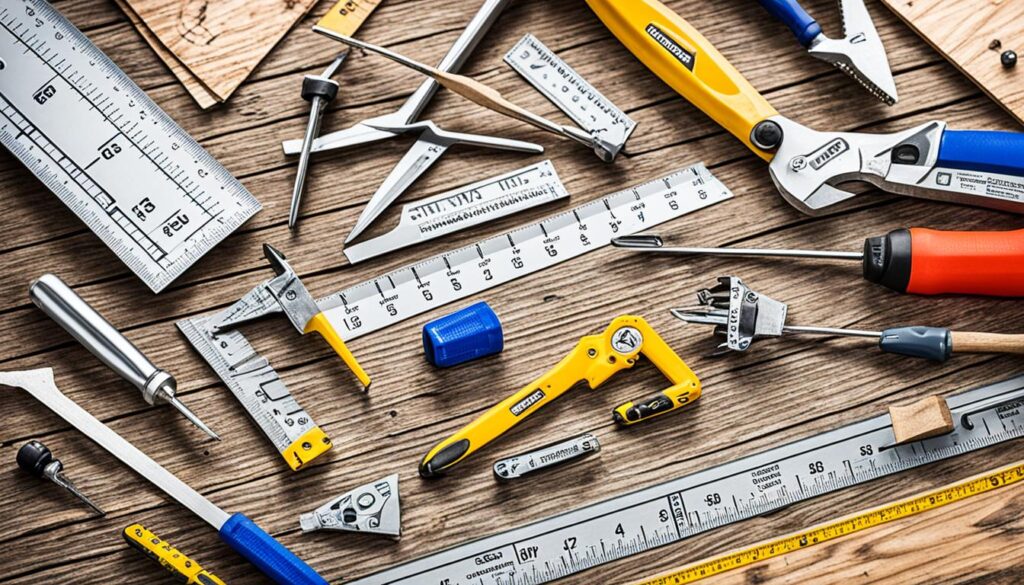
The right tools are key for an easy drywall job. Every DIY fan should have these tools:
- Tape Measure: A tape measure ensures accurate measurements for drywall.
- Utility Knife: Cut the drywall neatly around outlets, windows, and doors with a sharp knife.
- Drywall Saw: Use this saw for precise cuts when needed.
- Screw Gun: A screw gun makes it quick to secure your drywall with screws.
- Level: Make sure your drywall is straight and level with a level tool.
Drywall Hanging Techniques
Here are some tricks for smooth drywall hanging:
- Proper planning: Measure the area first to know how many drywall sheets you need.
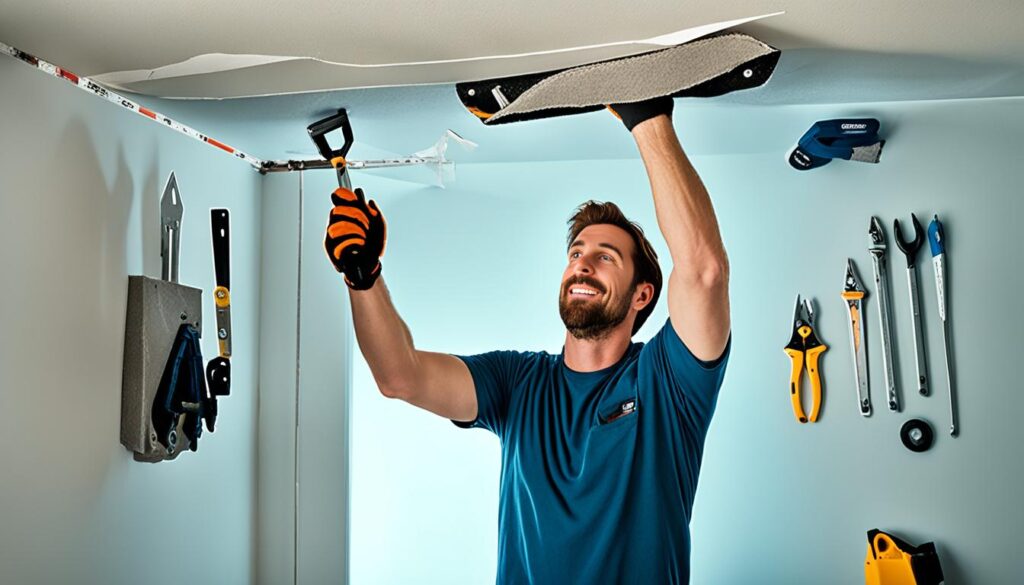
- Utilize mechanical lifts: A mechanical lift can make hanging big sheets easier. You can rent one.
- Secure fastening: Choose the right screws and space them correctly to hold the drywall well.
- Stagger the seams: Staggering seams adds strength and reduces cracking.
- Apply joint compound: Use joint compound and a taping knife for finishing. Make sure to feather the edges.
- Seamless corner treatment: Reinforce the corners with corner beads. Then, apply the joint compound and feather the edges for a pro look.
Image:

| Tool | Description |
|---|---|
| Tape Measure | Used to accurately measure and mark the dimensions of the drywall. |
| Utility Knife | A sharp knife used for cutting the drywall to fit around obstacles. |
| Drywall Saw | A saw designed specifically for making precise cuts in drywall. |
| Screw Gun | A power tool used for quickly and easily driving screws into the drywall. |
| Level | A tool used to ensure the drywall is installed evenly and level. |
With the right tools and techniques, you can handle drywall work well. Always think about safety and do as the experts advise for the best outcome.
The Importance of Proper Drywall Finishing
Making your drywall look smooth and professional is key. This task involves using the right finishing techniques. These methods are important for making your walls last and look great. With the correct steps, you can get flawless walls that make your space beautiful.
Taping Drywall Seams
Taping the seams is a key step. It stops the wall from blistering or cracking. Leave a small amount of compound under the tape to help it stick well but stay flexible. Then, use a drywall knife to put this compound on the seam and press the tape into it. After it dries, gently sand the area for a flat surface.
Applying Finishing Compound
The next part is adding a finishing compound. This layer hides the seam and makes everything look smooth. Put it on gently, ensuring it’s very thin on the edges. Use a wide knife to blend this compound well with the wall. This step ensures there are no obvious joints or bumps.
Butt Seams and Corners
Butt seams and corners are tricky but need attention. For butt seams, layer the compound thinly, first down the middle and then wider. This makes the seam invisible. Corners need compound applied skillfully. Do it at an angle for a neat, even finish. Feather the edges to avoid sharp lines or bumps.
Skim Coating for a Uniform Texture
Sometimes, you’ll need a skim coat for an even surface. This process smoothes the whole wall. Apply a thin coat of compound using a wide tool. This step ensures everything looks perfect under paint or wallpaper.
Using the right finishing techniques is crucial for great-looking drywall. Stick to these methods to make your walls strong, smooth, and attractive. This is key for the next stages of your decor plans.
Learning Drywall Installation as a DIY Enthusiast
Installing drywall on your own can save you money and bring you joy. With some practice and advice, you can learn to do it well. This is a great skill for DIY fans.
When starting, look at all the help you can find. There are online guides, books, and magazines full of useful tips. These will give you the knowledge needed for any drywall job.
Begin with easy tasks, like putting up pictures or shelves. This will help you get better and more confident. Then, you can move on to bigger projects, such as room renovations.
It’s also smart to ask for help from experts. They can share secrets that make the job easier. Make sure to focus on safety at all times. Use the right gear and follow safety rules and laws.
With hard work, you will get good at installing drywall. Use the tips and resources available, start small, ask for help, and stay safe. You will soon enjoy finishing your projects. The work will be its reward.
We at Painting Done by Angel’s are committed to helping those in the Scottsdale & Phoenix, Arizona region make their homes and businesses beautiful. We offer interior and exterior painting solutions with more than 15 years of expertise. Because our family-owned and operated team is bonded, insured, and certified, you can rest assured that your investment is safe and secure with us. As a result, we take great pride in delivering the best results for our customers every time.
