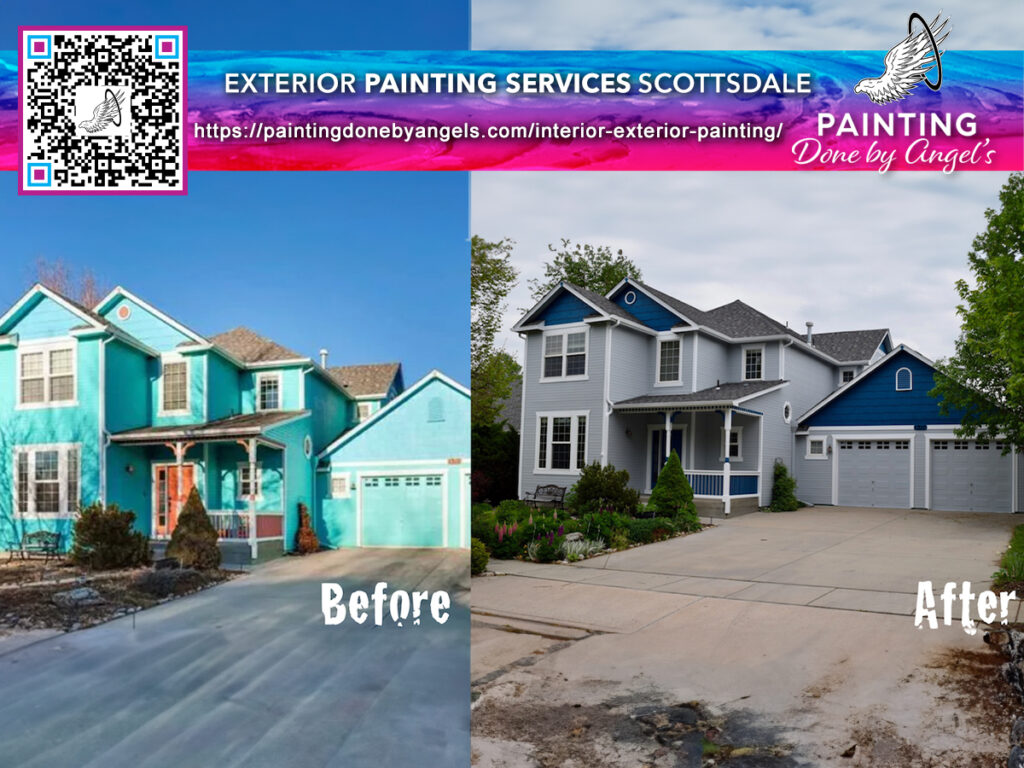
Preparing your Scottsdale home for residential exterior painting services can be a daunting task, but it’s essential for achieving a flawless paint job and prolonging the life of your home’s exterior. A painting preparation guide tailored to Scottsdale’s unique climate and architecture can help you through the process and ensure that every step is taken to achieve a smooth and successful painting project. By following these steps, you’ll be able to expertly prepare your house for exterior painting, giving it a fresh and vibrant look that enhances the beauty of your Scottsdale residence.
Before you start painting, it’s crucial to evaluate the condition of your exterior walls and address any repairs or preparations needed to achieve a flawless paint job. Then, cleaning and washing the exterior surfaces are essential as a clean surface is vital for proper paint adhesion. You also need to repair and patch damaged areas, protect and prime surfaces, choose the right paint and color, and gather the necessary painting tools and equipment before embarking on your exterior painting project. Lastly, applying paint with proper techniques is essential to achieve smooth and even coverage.
Key Takeaways
- Preparing your home for exterior painting is crucial for achieving a flawless paint job and prolonging the life of your home’s exterior.
- Assess the condition of your exterior walls and address any repairs or preparations needed before painting.
- A clean surface is vital for proper paint adhesion, so cleaning and washing the exterior surfaces are crucial.
- Repairing and patching damaged areas and protecting and priming surfaces must be done before you start painting.
- The right paint type and color that suits your preferences and withstands the elements are necessary for a long-lasting paint job.
Assessing the Condition of Your Exterior Walls
Before you begin your exterior home painting steps, it’s essential to evaluate the condition of your exterior walls. Assessing your walls helps you identify repairs or preparations needed to ensure a flawless paint job.
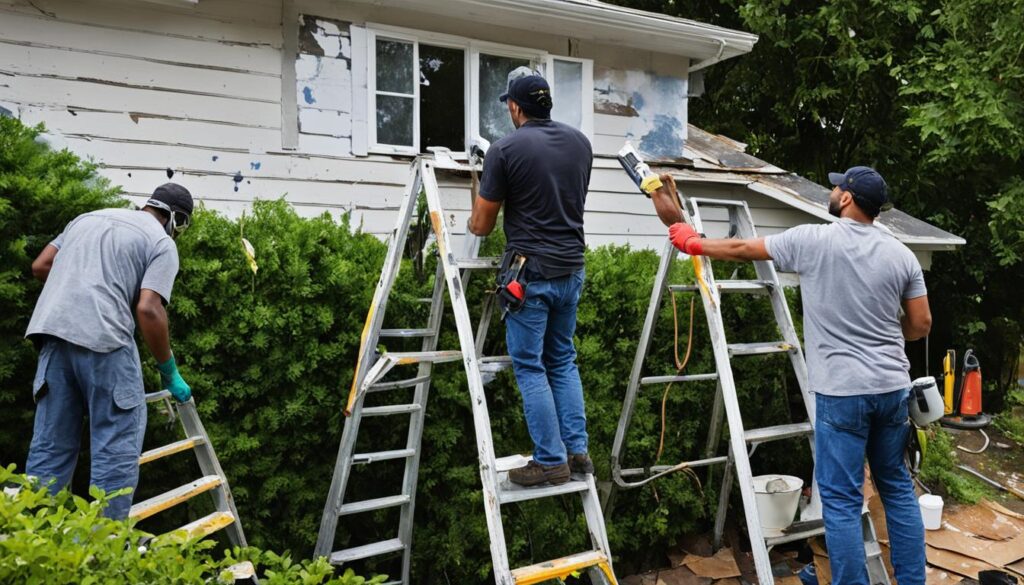
First, walk around your home and examine the walls for any signs of rot, cracks, peeling paint, or mold. Take note of any areas with water damage, as those require immediate attention.
Next, inspect the surface of the walls. They should be smooth, clean, and free of any debris or loose paint. Any dirt, rust, or stains should be removed before painting to avoid any paint adhesion issues. Pressure washing is an efficient way to clean the outside of your home, but if it’s not an option, spraying and hand washing are alternatives.
Once your walls are free of any dirt or debris, verify the condition of any trim features, such as gutters, downspouts, railings, and shutters. These must be secured, free of rust, and in good condition to avoid future problems.
Finally, when assessing the condition of your exterior walls, consider the environment and climate in your area. Choose a paint that is appropriate to your area’s weather conditions and will last the longest.
Cleaning and Washing the Exterior Surfaces
Before painting your home’s exterior, it’s important to clean and wash the surfaces thoroughly. This helps to remove any dirt, grime, or other debris that may prevent the paint from adhering correctly. Additionally, cleaning will help prevent premature peeling and reduce the need for touch-ups later on.
There are varying methods for cleaning your home’s exterior, depending on the type of surface you have.
Pressure Washing
Pressure washing is a popular method for cleaning exterior surfaces such as stucco, brick, vinyl, and wood. When pressure washing, ensure that you stand at least 3 feet away from the wall and use a low-pressure nozzle to prevent damage to the surfaces. Start from the top and work downward to guarantee that all areas are sufficiently cleaned.
Hand Washing
If your home has delicate or painted surfaces, hand washing is the best option. Use a soft-bristled brush and a cleaning solution such as water, soap, and bleach to gently scrub away dirt and debris. Be sure to rinse thoroughly with a hose to avoid leaving any soapy residue on the surface.
Mold and Mildew
It’s not uncommon for exterior surfaces to develop mold and mildew, especially in damp or shady areas. These can be removed by using a mixture of bleach and water, or with a specialized cleaning solution. For tougher stains, professional mold, and mildew removal may be necessary to achieve the best results.
Repairing and Patching Damaged Areas
Before starting your painting project, repairing and patching damaged areas is essential. Here are the steps to follow:
- Start by inspecting your walls thoroughly to identify any cracks, holes, or other damaged areas.
- If you notice any loose or rotten wood, remove it and replace it with new wood.
- Use a putty knife to fill in any cracks or holes with spackle or wood filler.
- Once the filler has dried, use sandpaper to smooth the surface and ensure a seamless finish.
- If there are large areas of damage, consider using a mesh patch to reinforce the repair.
- After completing the repairs, it’s essential to prime the surface to ensure proper adhesion of the paint.
Note: Before starting any repairs, ensure your safety by wearing protective clothing, gloves, and masks to avoid inhaling dust, spackles, or other materials.
Protecting and Priming Surfaces
Before you start painting, proper protection and priming of your home’s exterior surfaces are crucial for achieving a long-lasting paint job. Here are some essential exterior home painting steps to follow:
- Protecting Your Windows and Doors: Cover windows, doors, and other features with plastic sheeting or painter’s tape. This will prevent any paint from getting on them and make cleanup easier. Make sure to remove the coverings as soon as possible after painting to avoid peeling.
- Priming Your Surfaces: Priming is vital to ensure proper adhesion of paint and lengthen the life of your paint job. Primers help to seal the surface and prevent bleed-through of stains and previous paint colors. Select the right type of primer based on the surface you are painting: wood, metal, masonry, etc.
Remember, proper preparation and priming will save time and money in the long run by reducing the amount of paint needed and increasing the lifespan of your paint job.

Choosing the Right Paint and Color
One of the essential steps in preparing your home for exterior painting is choosing the right paint type and color that will suit your preferences and withstand the elements. When it comes to selecting the perfect exterior paint, there are a few factors to consider.
Paint Types
There are two main types of exterior house paint: oil-based and latex. Oil-based paints are durable and water-resistant, making them ideal for masonry or metal surfaces. Latex paints, on the other hand, are more commonly used and are easier to work with, while still providing durability and resistance to fading and cracking.
Color Selection
Choosing the right color for exterior home painting can be a daunting task. You need to factor in your home’s architecture, the landscape, and your personal preferences. Neutral shades such as gray, beige, and white are popular choices for their versatility, while bolder colors like reds and blues can add personality and charm to your home’s exterior.
Make sure to test the colors before making a final decision by painting swatches on your home’s surfaces and evaluating them in different lighting conditions to see how they look.
| Exterior Color Checklist: | |
|---|---|
| Consider your home’s architectural style and age. | For example, traditional homes may look best with muted colors, while modern homes may suit brighter shades. |
| Take inspiration from your surroundings. | Look to your landscape for inspiration when it comes to color choices. Consider colors present in your garden or the natural landscape, especially if your home is in a rural or wooded area. |
| Think about your home’s features. | Highlight your home’s best features by choosing a contrasting color for shutters, trim, and doors. |
| Consider your personal style. | If you prefer bold colors, don’t be afraid to experiment – just make sure they suit your home’s style and surroundings. |
| Check local regulations. | In some areas, there may be restrictions on the colors you can use on your home’s exterior. Check with your local city or homeowners’ association before making a final decision. |
By considering the above paint types and color selection tips, you’ll be able to choose the perfect paint to give your home a fresh, updated look. Discover more about What Are the Best Practices for Stucco Installation in Stucco Repair.
Gathering the Necessary Painting Tools and Equipment
Before starting your exterior home painting project, it’s essential to have all the necessary tools and equipment at your disposal. Having the right tools will ensure that you can complete the job efficiently and with ease.
Here are some essential tools and equipment you’ll need for your project:
| Tools and Equipment | Description |
|---|---|
| Paint brushes and rollers | Choose brushes and rollers suitable for the job. Select different sizes for different surfaces and purposes. A high-quality brush will make a difference when it comes to achieving a professional look. |
| Paint scraper | To remove loose paint, chips, and uneven areas of paint on the surface. |
| Sandpaper | Use sandpaper on the rough and uneven surfaces that need smoothing out before painting. |
| Drop cloths | Protect surrounding areas, including landscaping, flower beds, patios, and outdoor furniture, from paint drips and accidental spills. |
| Masking Tape | To mask the surfaces that should not be painted, such as windows, doors, and light fixtures. |
| Caulking gun and caulk | To seal the gaps between surfaces. |
| Pressure washer | To clean surfaces and remove dirt and debris effectively. |
| Ladders and scaffolding | To reach high places and heights. |
Remember to check if you have all the tools and equipment before starting the project.

Applying Paint with Proper Techniques
After you finish preparing your home’s exterior surfaces, it’s time to apply the paint for a fresh and updated look. Follow these tips to ensure a smooth and even paint job:
Cut in first
Starting with a high-quality angled brush, cut in around windows, doors, and edges before using a roller. This technique helps you precisely outline the perimeter and ensure the edges are covered.
Roll with care
When using a roller, avoid overloading it with too much paint. Roll onto the surface in a “W” or “M” motion for consistent coverage and smooth out the paint once you apply it
Blend in sections
Divide your home’s exterior surface into manageable sections such as a full wall or a section of the house. Make sure to blend each section of paint well with the previous sections applied, allowing for seamless integration and reducing lines.
| Do’s | Don’ts |
|---|---|
| Start painting without prepping the surface.Paint in extreme weather conditions. Use too much paint or pressure on the roller. | Start painting without prepping the surface. Paint in extreme weather conditions. Use too much paint or pressure on the roller. |
Remember to keep your work surface clean and covered as you are working, especially when it comes to avoiding paint spills. Follow these tips, and you’ll be sure to achieve a professional finish for your home’s exterior painting project.
Conclusion
Congratulations! You’re now equipped with the knowledge and tools you need to prepare your home for exterior painting. Remember to follow the steps in our exterior painting checklist to ensure a successful and long-lasting paint job.
By assessing the condition of your exterior walls, cleaning and washing surfaces, repairing and patching damaged areas, protecting and priming surfaces, choosing the right paint and color, gathering necessary tools and equipment, and applying paint with proper techniques, you’ll be well on your way to transforming your home’s curb appeal.
Don’t forget to take the necessary safety precautions, such as wearing protective gear and working with a partner when using ladders. Following these tips for getting your home ready for exterior painting will help you achieve a beautiful and vibrant look for your home.
Painting Done by Angels is a Scottsdale and Phoenix, AZ-based company specializing in both exterior and interior painting projects. With over 15 years of experience in the paint industry, our family-owned and operated business is committed to excellence. We are fully licensed, bonded, and insured, ensuring that your investment is secure with us. Our goal is to consistently deliver outstanding results to our valued customers.
FAQ
What are the steps involved in preparing your home for exterior painting?
The steps involved in preparing your home for exterior painting include assessing the condition of your exterior walls, cleaning and washing the surfaces, repairing and patching damaged areas, protecting and priming surfaces, choosing the right paint and color, gathering the necessary painting tools and equipment, and applying paint with proper techniques.
Why is it important to assess the condition of the exterior walls before painting?
Assessing the condition of the exterior walls before painting is crucial because it helps identify any repairs or preparations needed to achieve a flawless paint job. It ensures that the surface is ready for painting and helps prevent issues such as peeling or uneven paint application.
How do I clean and wash the exterior surfaces of my home before painting?
Cleaning and washing the exterior surfaces of your home before painting involves removing dirt and debris, addressing mold and mildew, and ensuring a clean surface for proper paint adhesion. Depending on the material of your walls, you can use a pressure washer, scrub brush, or a mixture of water and cleaning solution to clean the surfaces.
What should I do to repair and patch damaged areas on my exterior walls?
To repair and patch damaged areas on your exterior walls, you can fill cracks with caulk or patching compound, fix loose or rotten wood with wood fillers or replacements, and address any other issues such as holes or dents. It is important to have a smooth and even surface before applying paint.
Why is it necessary to protect and prime surfaces before painting?
Protecting and priming surfaces before painting is necessary to achieve a long-lasting paint job. It helps protect windows, doors, and other features from accidental paint splatters or damage. Priming also improves paint adhesion, enhances color coverage, and promotes an even finish on different surfaces.
How can I choose the right paint and color for my home’s exterior?
To choose the right paint and color for your home’s exterior, consider factors such as architectural style, neighborhood guidelines, personal preferences, and climate conditions. Select a high-quality paint that is specifically formulated for exteriors and opt for colors that complement your home’s overall aesthetic.
What painting tools and equipment do I need for an exterior painting project?
For an exterior painting project, you will need brushes, rollers, paint trays, extension poles, ladders, drop cloths, painter’s tape, sandpaper, a caulking gun, cleaning supplies, and appropriate safety gear. Having all the necessary tools and equipment on hand will ensure a smooth painting process.
What are the proper techniques for applying paint to the exterior surfaces?
Proper techniques for applying paint to the exterior surfaces include cutting in the edges with a brush, using a roller for larger areas, working in small sections to avoid drying lines, and blending the paint to achieve a seamless finish. It is important to follow the manufacturer’s instructions and apply multiple thin coats for optimal results.
How can I transform my home’s curb appeal with exterior painting?
By following the step-by-step instructions mentioned in this guide and taking the necessary precautions, you can be well-prepared to tackle your exterior painting project. A fresh coat of paint can transform your home’s curb appeal, giving it a renewed and vibrant look.
