In the realm of drywall repair, achieving seamless texturing is essential for a flawless finish. To accomplish this, selecting the right tools is of utmost importance. Whether you are tackling a small patching job or a full installation, having the appropriate tools can make all the difference in the quality of your work.
In this article, we will explore the importance of choosing the right tools for seamless texturing in drywall repair in Peoria, AZ. We will delve into the various stages of the repair process and guide making informed choices for achieving perfect texturing and seamless finishes.
Key Takeaways:
- Choosing the right tools is crucial for achieving seamless texturing in drywall repair.
- Essential tools for drywall patching and installation include measuring and cutting tools, as well as those for securing the drywall.
- Taping, mudding, and sanding tools are necessary for achieving seamless finishes in drywall repair.
- When repairing holes in drywall, selecting the appropriate tools based on the size and severity of the damage is important.
- Tools for ceiling and wall repair address issues such as cracks, dents, and water damage.

Essential Tools for Drywall Patching and Installation
In the world of drywall repair, having the right tools can make all the difference. Whether you’re patching a small hole or installing a whole new wall, the right tools will help you achieve professional results and save you time and effort. In this section, we will discuss the essential tools you need for drywall patching and installation. Let’s dive in:
Measuring and Cutting Tools
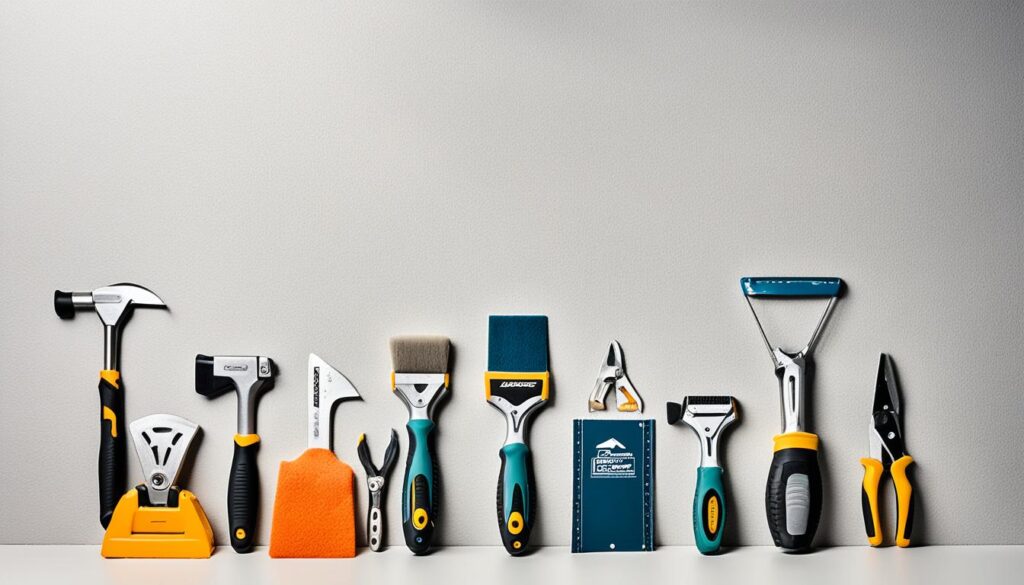
Accurate measurements and clean cuts are crucial for a seamless drywall installation. Here are the tools you’ll need for this stage:
| Tool | Description |
|---|---|
| Tape Measure | To measure the dimensions of the drywall sheets accurately. |
| T-Square | To ensure straight cuts when scoring and snapping the drywall. |
| Drywall Saw | To make precise cuts in the drywall. |
| Utility Knife | To score and cut through the drywall paper. |
Securing and Attaching Tools
Once you have your drywall sheets cut, it’s time to secure and attach them to the walls or ceilings. The following tools will help you with this stage:
| Tool | Description |
|---|---|
| Drywall Screws | To secure the drywall sheets to the studs or framing. |
| Power Drill | To drive the drywall screws into place. |
| Taping Knife | To spread joint compound and smooth out the seams. |
| Drywall Screw Gun | A specialized tool for quickly and efficiently driving drywall screws. |
With these essential tools in your arsenal, you’ll be well-equipped to tackle any drywall patching and installation project. Remember to take your time, follow best practices, and always prioritize safety. Now that you have a clear understanding of the tools you need, let’s move on to the next section where we’ll explore the tools required for achieving seamless finishes in drywall repair.

Tools for Achieving Seamless Finishes in Drywall Repair
When it comes to drywall repair, achieving seamless finishes is essential for a professional and polished look. The right tools can make all the difference in achieving smooth and flawless surfaces. In this section, we will explore the different types of tools required for drywall finishing and restoration, including taping and mudding tools, as well as sanding tools. Gain deeper insights into Creative Accent Walls: Adding Personality to Your Home with a Painting Company.
Taping and Mudding Tools:
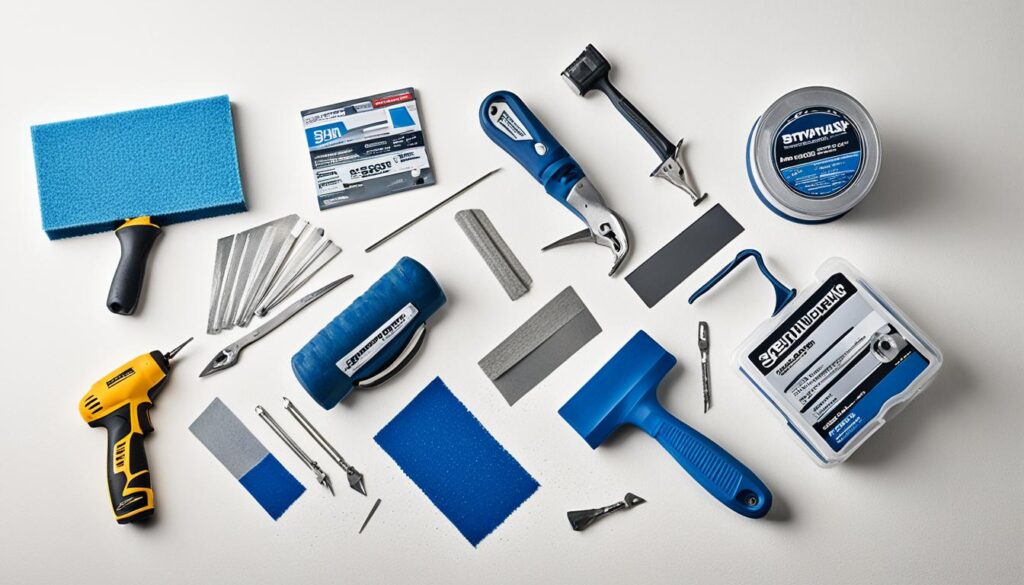
One of the key steps in drywall repair is taping and mudding. These tools are crucial for ensuring that the joints and seams between the drywall panels are properly concealed and smoothed out. Here are some essential taping and mudding tools:
- Taping knife: Used to apply joint compound and embed tape in the seams.
- Mud pan: A shallow tray for holding the joint compound.
- Corner trowel: Ideal for finishing off corners and angles.
- Corner bead: Helps reinforce and protect corners from damage.
Sanding Tools:
Once the joint compound has dried, sanding is necessary to achieve a perfectly smooth finish. Sanding tools help remove excess compounds, uneven surfaces, and imperfections. Here are some essential sanding tools:
- Sanding block: Provides a flat surface for even sanding.
- Electric sander: Saves time and effort when sanding large areas.
- Sanding sponge: Ideal for reaching corners and hard-to-reach areas.
- Dust mask: Protects against dust particles during sanding.
By utilizing the right taping, mudding, and sanding tools, you can achieve seamless finishes in your drywall repair projects. A precise and methodical approach, along with these essential tools, will ensure that your repairs blend seamlessly with the existing surface, leaving no trace of the previous damage.
| Tool | Description |
|---|---|
| Taping knife | Used for applying joint compound and embedding tape in seams. |
| Mud pan | A shallow tray for holding joint compound. |
| Corner trowel | Ideal for finishing corners and angles. |
| Corner bead | Reinforces and protects corners from damage. |
| Sanding block | Provides a flat surface for even sanding. |
| Electric sander | Efficient for sanding large areas. |
| Sanding sponge | Reaches corners and hard-to-reach areas. |
| Dust mask | Protects against dust particles during sanding. |
Selecting the Right Tools for Hole Repair in Drywall
When it comes to repairing holes in drywall, selecting the right tools is essential for achieving a seamless finish. The size and severity of the damage will dictate the specific tools needed to effectively fill and patch the holes. By using the appropriate tools, you can restore the integrity and aesthetic appeal of your drywall surfaces.
Here are some key tools to consider for hole repair in drywall:
Drywall Patch
A drywall patch is a crucial tool for repairing small to medium-sized holes in the drywall. It consists of a self-adhesive mesh or metal plate that covers the hole and provides a stable foundation for the patching compound. The self-adhesive feature simplifies the patching process and ensures a secure bond. Choose a patch size that adequately covers the hole and allows for easy blending with the surrounding drywall.
Patching Compound
Patching compound, also known as joint compound or spackle, is used to fill the hole and create a smooth, even surface. There are different types of patching compounds available, such as lightweight and heavyweight compounds. Lightweight compounds are easier to work with and are ideal for smaller holes, while heavyweight compounds are more suitable for larger holes or areas with greater damage. Follow the manufacturer’s instructions for mixing and applying the compound.
Drywall Knife
A drywall knife, also called a putty knife or taping knife, is essential for applying and smoothing the patching compound. It has a flexible, wide blade that allows for precise application and ensures a smooth finish. Choose a knife size that matches the width of the patch, allowing for efficient spreading of the compound. Clean the knife between applications to avoid any residue affecting the finish.
Sanding Block
After the patching compound has dried, a sanding block is used to smooth and blend the repaired area with the surrounding drywall. Choose a fine-grit sandpaper for a smooth finish and lightly sand the patched area in a circular motion. Be careful not to overspend and cause damage to the surrounding drywall. Once the surface feels smooth and even, wipe away any dust with a damp cloth.
Remember to wear appropriate safety gear, such as goggles and a dust mask, when working with drywall and patching materials.

By selecting the right tools and following proper techniques, you can achieve professional-quality hole repair in drywall. A well-executed repair will not only restore the integrity of your drywall surfaces but also ensure a seamless and visually appealing finish.
Tools for Ceiling and Wall Repair
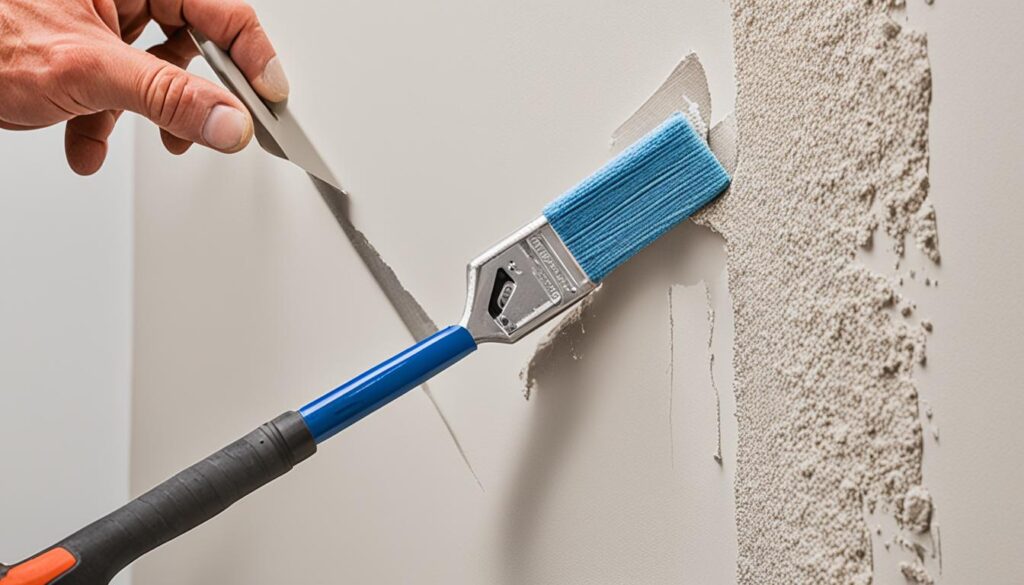
When it comes to repairing damaged ceilings and walls, having the right tools is essential. Whether you’re dealing with cracks, dents, or water damage, the proper tools can help you achieve professional drywall repair results. Here are a few must-have tools that will make your ceiling and wall repair projects a breeze:
1. Drywall Saw:
A drywall saw is a specialized tool designed for cutting through drywall quickly and accurately. It features a sharp, serrated blade that allows for precise cuts, making it ideal for creating clean openings for new patches or repairs.
2. Joint Compound:
Joint compound, also known as mud, is an essential component of any ceiling or wall repair project. It is used for filling in cracks, covering holes, and creating a smooth surface for painting or wallpapering. Be sure to choose a high-quality joint compound for professional-grade results.
3. Mesh Tape:
Mesh tape is used to reinforce joints and prevent cracks from reappearing after repairs. It is a self-adhesive tape that adheres well to drywall surfaces, providing extra strength and stability. When applying mesh tape, make sure to press it firmly into the joint compound for a seamless finish.
4. Sanding Tools:
To achieve a smooth and finished look, sanding is a crucial step in ceiling and wall repair. You’ll need sanding tools such as sanding blocks or sandpaper to smooth out the joint compound and create a seamless transition between the repaired area and the surrounding surface. Remember to wear a dust mask and protect your eyes while sanding.
By having these essential tools at your disposal, you can confidently take on ceiling and wall repair projects. Remember to follow proper safety precautions and use high-quality materials for the best results. With the right tools and techniques, you’ll be able to achieve professional drywall repair, restoring the beauty and integrity of your ceilings and walls.
We at Painting Done by Angel’s are committed to helping those in the Scottsdale & Phoenix, Arizona region make their homes and businesses beautiful. We offer interior and exterior painting solutions with more than 15 years of expertise. Because our family-owned and operated team is bonded, insured, and certified, you can rest assured that your investment is safe and secure with us. As a result, we take great pride in delivering the best results for our customers every time!


