Do you have a room in your house with unsightly holes and cracks on the walls? If yes, then drywall repair is definitely on your to-do list. Drywall damage can be caused by various factors such as moisture, accidental impact, or even just normal wear and tear. But don’t worry! In this post, we will cover everything you need to know about drywall repair essentials. From identifying the type and extent of damage to understanding how to safely prepare the damaged surface for repair. We’ll also provide tips on maintaining your drywall post-repair and alternatives to traditional drywall repair if DIY isn’t for you. So say goodbye to wall imperfections and get ready to have a flawless-looking home interior!
Understanding Drywall Damage
Repairing drywall damage can be a daunting task, but with the right knowledge and techniques, it is achievable. Different types of drywall damage, such as small holes, water damage, or larger holes, require specific repair techniques to ensure a flawless finish. It is crucial to identify the extent of the damage before starting repairs, as this will determine the appropriate course of action. Safety precautions, such as wearing safety goggles and a dust mask, are necessary when working with damaged drywall to protect yourself from potential harm. Professional drywall repair results in seamless and polished walls, thanks to their expertise and the use of quality materials. By understanding the art of drywall repair and following a comprehensive guide, you can restore your damaged drywall to its former glory.
Common Types of Drywall Damage
Small holes in the wall surface can be easily repaired, while water damage requires proper techniques. Larger holes may need a patching process, and cracks can be fixed to restore the wall’s integrity. Understanding the extent of the damage is crucial for effective repair.
Identifying the Extent of the Damage
To ensure successful drywall repair, assessing the damaged area is crucial. Accurate measurements help determine the extent of the damage and plan the repair process. Evaluate the surrounding surface for additional imperfections and identify the right tools and materials needed. This knowledge sets the foundation for a smooth and effective drywall repair project.
Safety Tips for Drywall Repair
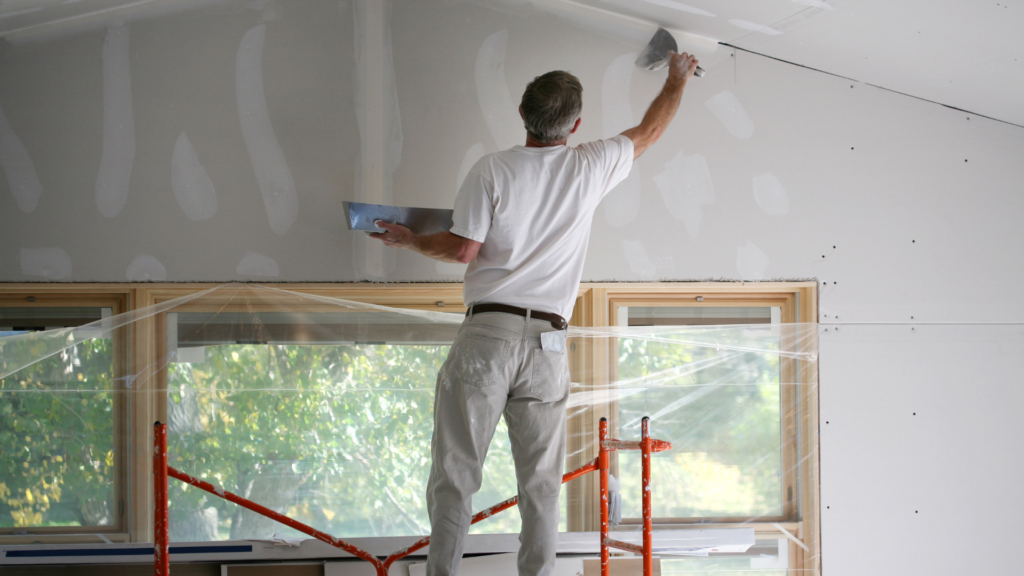
When it comes to drywall repair, safety should be your top priority. Protect yourself by using personal protective equipment (PPE) such as safety goggles and a dust mask. These will shield your eyes and respiratory system from any potential harm. Additionally, following safety precautions throughout the repair process is essential to prevent further damage or injuries. Before you begin, make sure the work area is clean and free of loose debris. This not only ensures a safe environment but also allows for a seamless repair. Handling tools and materials with care is crucial to avoid accidents. Remember to take extra safety measures when working on exterior walls or ceilings to maintain a secure working condition. By prioritizing safety, you can confidently tackle your drywall repair project and achieve professional results.
Personal Protective Equipment (PPE)
During the drywall repair project, it is crucial to prioritize personal safety. Make sure to wear safety goggles to protect your eyes from any debris or dust. Additionally, use a dust mask to avoid inhaling particles. Safety gloves are essential for shielding your hands from sharp edges. Consider using knee pads for added safety and comfort, and wear appropriate clothing to safeguard your body from debris.
Safe Handling of Tools and Materials
To ensure a successful drywall repair project, it is essential to handle tools and materials safely. Use the appropriate tools, such as a putty knife and sanding block, while being cautious to avoid accidents or damage to the wall surface. Opt for quality materials to achieve a professional finish and long-lasting results. Follow the necessary steps in the repair process for seamless outcomes. Additionally, practice safety precautions when working with joint compound or drywall tape to guarantee a smooth surface. Remember, with the right knowledge and safe handling, you can restore your home’s walls to their former glory.
Steps to Prepare the Damaged Drywall Surface
To prepare the damaged drywall surface, start by cleaning the area to remove dust, debris, or loose material. Then, sand any rough edges or imperfections to create a smooth surface. Apply a thin layer of joint compound for a seamless finish and ensure clean edges. Finally, use a sanding block to achieve a uniform result.
Cleaning the Damaged Area
To ensure a smooth and seamless drywall repair project, it is essential to start by cleaning the damaged area. Begin by removing any loose debris or dust from the surface of the damaged drywall. Next, use a utility knife to clean the edges of the damaged area, ensuring a clean and precise cut. Before applying joint compound or a repair patch, make sure to thoroughly clean the repaired area, removing any remaining debris or loose drywall material. Additionally, clean the surrounding area to create a polished look after the repair is complete. By following these steps, you can bring your damaged wall back to its former glory.
Preparing the Surface for Repair
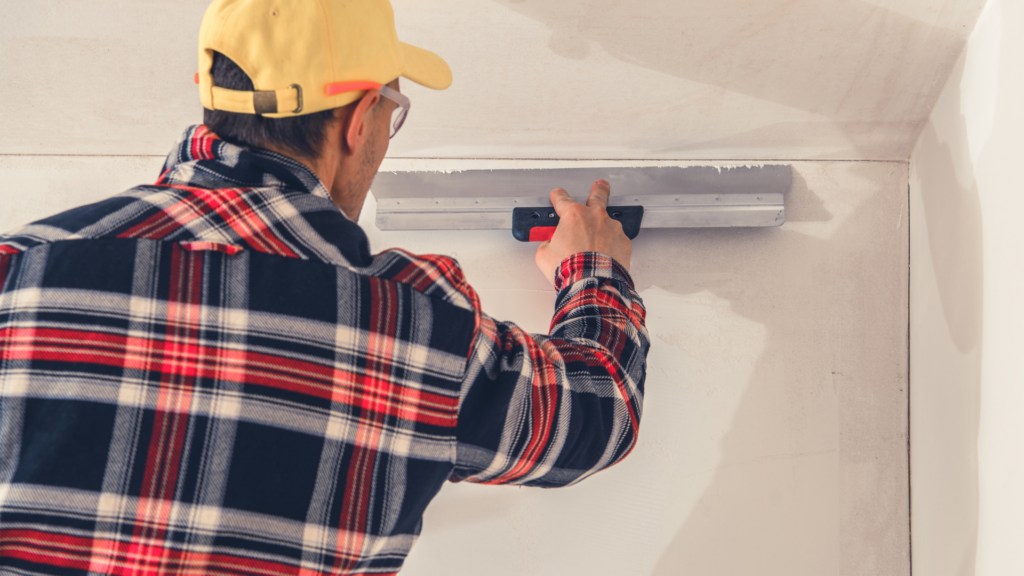
Smooth the rough edges of the damaged drywall surface for a seamless finish. Apply joint compound evenly to the repaired area, using a putty knife to create clean edges. Achieve a professional look by smoothing the repaired area with a sanding block. Ensure the surrounding surface is clean and smooth.
Maintaining Your Drywall Post-Repair
To keep your repaired drywall surface in pristine condition, avoid further damage. Consider repainting the area to match the rest of the wall color. Regularly inspect for any signs of imperfections and seek professional help for a comprehensive guide and flawless finish. Follow industry trends and techniques for long-lasting results.
Preventing Future Damage
Regularly inspect your walls for any signs of damage. Keep the wall surface clean and free of debris. Address small holes or cracks immediately. Use the right tools and materials for patching and repair. Consider adding a layer of protective finish to maintain the smooth surface.
When to Call a Professional for Help
When it comes to drywall repair, knowing when to call a professional is crucial. If the damage is extensive or beyond your DIY knowledge, it’s best to hire a professional. They have the right tools and knowledge to handle complex repairs and ensure seamless results. Hiring a professional saves time and effort, allowing you to say goodbye to unsightly wall imperfections and bring your walls back to their former glory. Professionals can accurately assess the extent of the damage and provide the necessary repair process, making drywall repair projects much smoother and more efficient.
Are There Alternatives to Traditional Drywall Repair?
Drywall repair kits offer a popular alternative for small holes or damage. They often include all necessary tools and materials for seamless patching, making it possible to achieve professional results without extensive knowledge. Using alternative materials like putty can also be a cost-effective option, while repair tape can cover small imperfections for a seamless repair patch.
Overview of Drywall Repair Kits
Drywall repair kits consist of joint compound, putty knife, sanding block, and repair patch. These versatile kits are suitable for small holes, cracks, or larger damaged areas. Following the provided guide ensures professional results. They offer an affordable and convenient option for DIY enthusiasts seeking to restore their walls to their former glory.
Is DIY Drywall Repair Right for You?
Considering the extent of damage and your repair skills is crucial before opting for DIY drywall repair. While it can help save costs, it requires proper tools, knowledge, and safety precautions. Keep in mind that it can be time-consuming. For extensive damage, consulting a professional is recommended for accurate measurements and quality materials. DIY repair can provide a polished look, but a professional finish is ideal for flawless walls.
Conclusion
In conclusion, drywall repair is an essential skill for homeowners to have. Understanding the different types of drywall damage and knowing how to identify the extent of the damage are crucial first steps. Safety should always be a priority when conducting any repair work, so make sure to wear appropriate protective equipment and handle tools and materials with care.
Preparing the damaged drywall surface involves cleaning the area and ensuring it is ready for repair. After the repair is complete, it’s important to maintain your drywall to prevent future damage. This includes taking preventive measures and knowing when to call a professional for help.
If you’re considering alternative options, drywall repair kits can be a convenient solution, but it’s crucial to assess whether DIY drywall repair is right for you based on your skills and the complexity of the damage. If you need professional help or have any questions, contact us today or visit our website. With these tips and knowledge, you can say goodbye to wall imperfections and enjoy a flawless finish in your home.