There’s something special about the warm, rich tones of natural wood in furniture and spaces. But what if you could take that beauty to the next level? That’s where wood staining comes in. Wood staining is an art form that can enhance the beauty of your furniture and spaces by adding depth and color. In this blog, we will take you through everything you need to know about wood staining. We will cover the importance of wood staining, essential supplies needed for staining, choosing the perfect stain color, preparing wood for staining, the actual staining process, sealing and protecting your stained wood, and even advanced techniques to take your staining game up a notch. Say goodbye to plain wooden surfaces and hello to a world of customized beauty with this ultimate guide on wood staining!

Understanding the Art of Wood Staining
Wood staining is a transformative technique that enhances the natural beauty of wood surfaces. By penetrating the wood, stains highlight the intricate wood grain and create depth. This process can completely change the appearance of furniture and spaces, adding a touch of elegance and sophistication. To achieve optimal results, proper preparation and the use of the right supplies are essential. Moreover, understanding the different types of wood stain and how to apply them is crucial in achieving the desired outcome.
Importance of Wood Staining
Wood staining plays a vital role in protecting wood surfaces from moisture, UV rays, and wear. By preventing warping, cracking, or splitting over time, stains help extend the lifespan of wood, making it durable and long-lasting. Moreover, stained wood adds value to furniture and spaces, enhancing their overall appeal. One of the significant advantages of wood staining is the ability to customize the color of the wood surface, allowing you to create a personalized aesthetic.
Enhancing Aesthetic Value with Stains
Stains offer a wide range of colors, allowing you to achieve your desired aesthetic for wood surfaces. By using stains, you can give wood a natural and authentic look that brings out its unique character. If you’re looking to create a dramatic and rich appearance, darker stain colors are the way to go. Additionally, stains can be applied to highlight the natural grain of the wood, adding depth and texture. Moreover, staining wood helps unify the look of different wood species in a project.
Essential Supplies for Staining
To ensure a smooth application, choose the right tools like foam brushes or staining pads. Safety equipment such as gloves and goggles protects against fumes and potential hazards. Wood conditioner helps prevent blotchiness and promotes even stain absorption, while mineral spirits are used to clean the wood surface before staining. Don’t forget the essential tack cloth for removing dust and debris, ensuring a clean surface. These supplies are crucial for achieving professional and flawless results.
Choosing the Right Tools
When it comes to wood staining, choosing the right tools is essential for achieving optimal results. Foam brushes are ideal for smaller projects as they provide smooth and even stain application. On the other hand, staining pads are versatile tools that work well for staining large wood surfaces. Testing the stain color and absorption on a scrap piece of wood before applying it to the project can help ensure the desired outcome. Different types of wood may require different staining tools, so it’s important to do thorough research and select the appropriate tools for your project. Making the right choices in terms of tools can make the staining process much easier and more efficient.
Safety Equipment for Staining
When it comes to wood staining, it is important to prioritize safety. To protect your hands from staining chemicals and potential skin irritation, wearing gloves is crucial. Goggles are also essential to shield your eyes from fumes, splatters, and wood particles. Additionally, using a respirator or mask helps guard against wood stain fumes. Adequate ventilation in the staining area is necessary, ensuring reduced fumes and fresh air circulation. Remember to follow safety guidelines and utilize the appropriate safety equipment throughout the staining process.
Choosing the Perfect Stain Color
When it comes to choosing the perfect stain color for your wood project, there are a few factors to consider. Firstly, take into account the natural color and species of the wood. This will help you select a stain color that enhances the wood’s beauty. Additionally, testing stain colors on scrap wood can give you a better idea of how they will look on your project. It’s also important to match the stain color with the overall color scheme of the space for aesthetic harmony. Stain color can have a significant impact on the look of the wood surface, so choose wisely. If you need inspiration or guidance, stain color charts and online resources can be helpful tools.

Preparing Wood for Staining
Sanding the wood surface ensures a smooth and even application of the stain, while also aiding in the removal of any imperfections like scratches or dents. Cleaning the wood surface of sawdust and debris is crucial for better absorption of the stain. Applying a wood conditioner before staining helps prevent blotchiness and promotes an even color application. It’s important to follow the correct sanding grit sequence to prepare the wood surface for optimal stain absorption. By taking these steps, you are preparing the wood for a beautiful and long-lasting finish.
Importance of Sanding
Properly sanding the wood surface is essential in the wood staining process. It creates a smooth surface that allows for better absorption of the stain. Sanding also removes imperfections such as scratches and dents, preparing the wood for staining. Additionally, it helps to open the pores of the wood, ensuring that the stain penetrates evenly. This not only enhances the aesthetic appeal but also contributes to a durable finish that lasts longer. Sanding is the first step towards achieving a professional look for your wood project.
The Staining Process
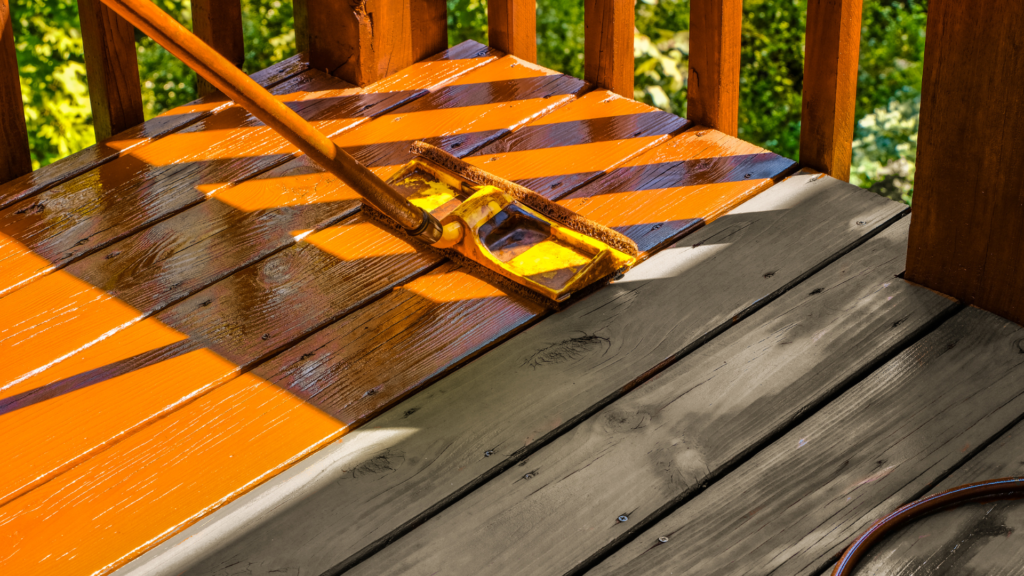
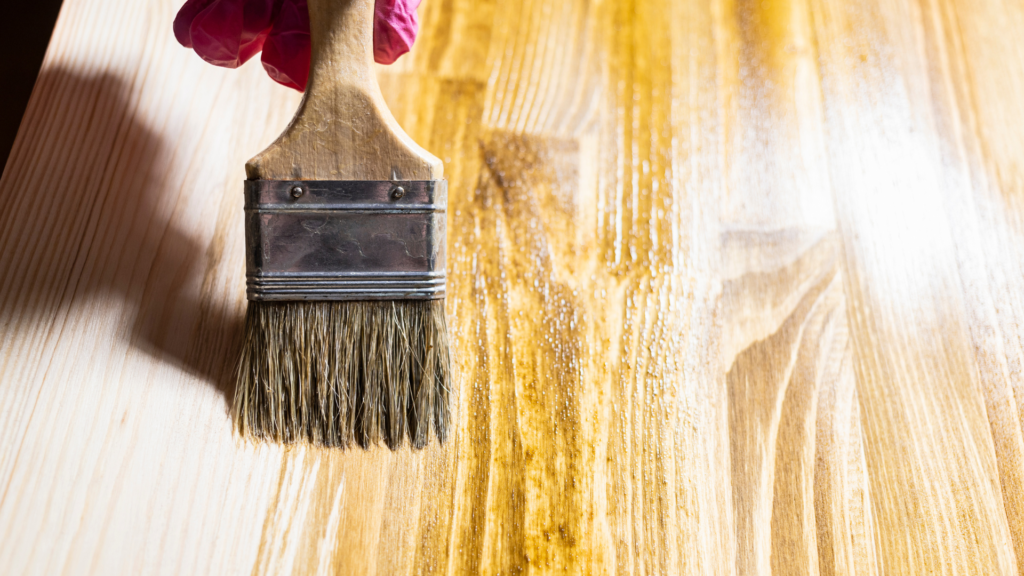
Staining wood enhances the natural beauty of the grain, allowing you to customize the color and adding depth to the surface. When applying the stain, it’s important to follow the direction of the grain for optimal results. This brings out the different tones of the wood species, highlighting its unique characteristics. Whether you prefer a darker color or a lighter shade, the staining process allows you to achieve your desired look. Staining is an essential step in transforming your furniture and spaces into stunning pieces.
Drying Time and Tips
After applying the stain, it’s essential to allow it to dry completely before proceeding with the next step. The drying time can vary depending on factors such as the stain color, wood species, and humidity levels. To speed up the drying process, ensure proper ventilation and airflow in the area where you’re staining. It’s crucial to avoid touching the stain surface until it is fully dry to prevent any smudges or imperfections. Always follow the specific drying time recommended by the stain manufacturer.
Sealing and Protecting Your Stained Wood
Applying a sealer or top coat is crucial for protecting the color and surface of your stained wood. Not only does it add a glossy finish, enhancing the natural beauty of the wood, but it also prevents moisture, stains, and damage from affecting its appearance. By creating a durable protective barrier, sealers and top coats ensure that your stain lasts for a long time, keeping the wood looking new. Take the next step in preserving your wood’s beauty by sealing and protecting it with a high-quality sealer or top coat.
How to Apply Sealants
To apply sealants effectively, start by using a foam brush or rag to evenly distribute the sealer or top coat. Make sure to apply it in the same direction as the grain for consistent coverage. Allow the sealer to dry completely before applying additional coats, following the recommended drying time provided by the manufacturer. For a smooth finish, apply multiple thin coats of sealer, lightly sanding between each coat. By following these steps, you can achieve a beautiful and protective seal on your stained wood surfaces.
Conclusion
To sum up, wood staining is an art that can enhance the beauty and aesthetic value of your furniture and spaces. By understanding the importance of wood staining and choosing the right tools and supplies, you can achieve stunning results. Preparing the wood properly through sanding and using a pre-stain wood conditioner is crucial for a smooth and even stain application. The staining process itself requires attention to detail and proper drying time. Finally, sealing and protecting your stained wood with the right sealants will ensure its longevity and durability. For advanced techniques, consider applying a top coat after staining for an extra layer of protection.
If you’d like to learn more about wood staining or need help with your project, please don’t hesitate to contact us today or visit our website. Our team of experts is always ready to assist you in achieving your desired results. With these tips and techniques, you can transform your wood into beautiful, personalized pieces that enhance the overall look of your home or workspace.
